
Understanding Vapor Barrier Installation
What is a Vapor Barrier?
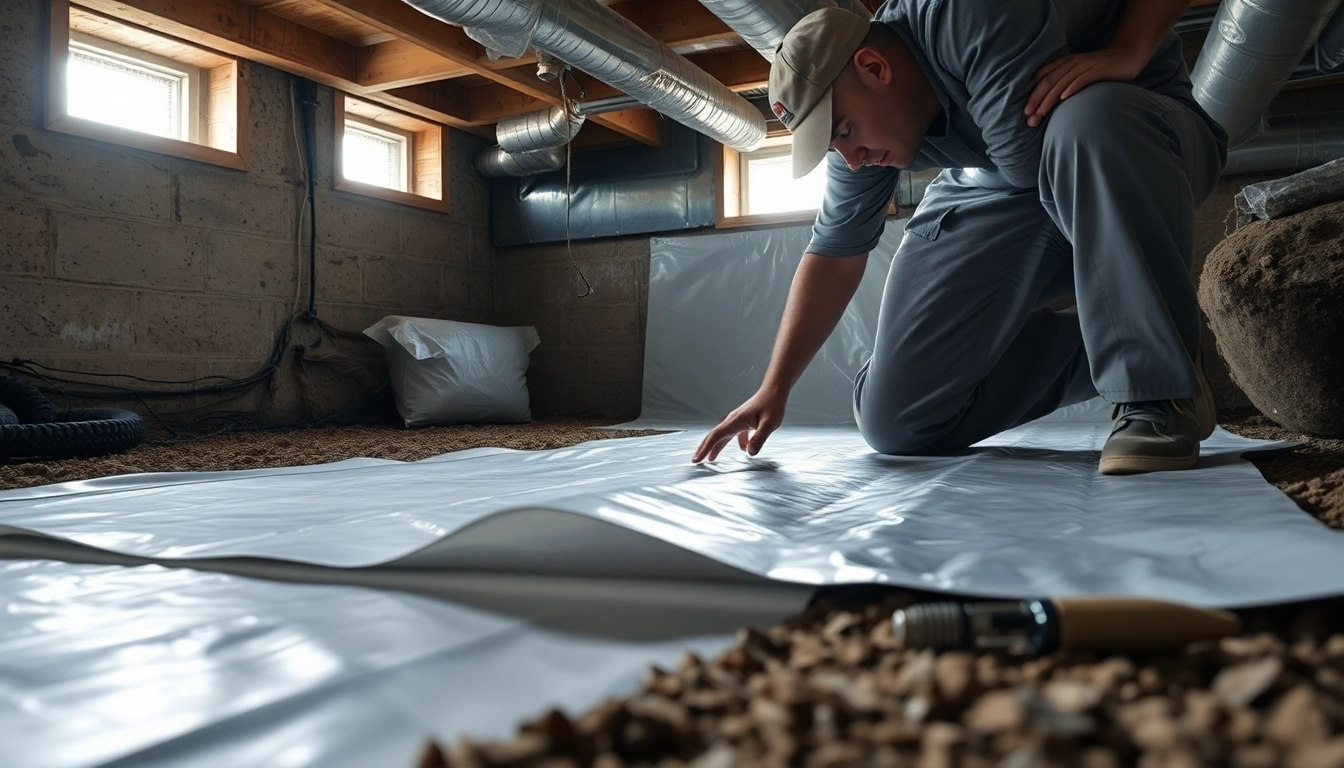
A vapor barrier is a material designed to prevent the passage of moisture from the ground or outside air into your home’s living environment. Commonly used in crawl spaces and basements, these barriers are typically made from polyethylene plastic, which is durable and effective in blocking moisture. By creating a protective layer, vapor barriers help to maintain a controlled environment that minimizes humidity levels, helping to protect your home’s structural integrity and indoor air quality.
The Importance of Vapor Barrier Installation
Vapor barrier installation plays a critical role in maintaining the health of your home. Moisture ingress can lead to a wide range of issues including mold growth, wood rot, and weakened foundations. Furthermore, excess moisture can significantly affect indoor air quality, contributing to respiratory problems and discomfort. Investing in proper Vapor Barrier Installation not only enhances your home’s durability but also promotes overall health for you and your family.
Common Materials Used in Vapor Barriers
The most common materials used for vapor barriers include:
- Polyethylene plastic (most popular, available in various thicknesses)
- Foil-faced insulation (provides additional thermal protection)
- Rubber membranes (used for irregular surfaces)
- Spray foam insulation (acts as both insulation and a vapor barrier)
When selecting a material, consider factors such as your climate, the condition of your crawl space, and local building codes.
Preparing for Vapor Barrier Installation
Assessing Your Crawl Space Environment
Before installation, it’s essential to assess your crawl space environment. Look for signs of moisture accumulation, such as dampness, mold growth, or an unpleasant smell. Check for any leaks from plumbing or structural issues that may lead to water infiltration. A thorough inspection will allow you to address potential problems before proceeding with the installation.
Tools Needed for Effective Installation
The proper tools are vital for an effective vapor barrier installation. Ensure you have the following items on hand:
- Measuring tape
- Utility knife
- Seam tape or duct tape
- Stapler or construction adhesive (if applicable)
- Protective gear (gloves and mask)
Safety Precautions During Installation
Safety should always be a priority during installation. Wear protective gear to prevent skin contact with harmful materials or dust. Ensure proper ventilation in the crawl space to avoid inhalation of mold spores or chemical fumes. Additionally, be cautious of low ceilings, sharp edges, and uneven surfaces where you may trip or fall.
Step-by-Step Guide to Vapor Barrier Installation
Preparing the Crawl Space
Before laying down the vapor barrier, it’s crucial to prepare the crawl space. Start by removing any debris, old insulation, or sharp objects that could puncture the barrier. If you notice moisture or standing water, consider addressing those issues with a sump pump or drainage system. Finally, let the area dry as much as possible before proceeding.
Measuring and Cutting the Material
Using your measuring tape, calculate the dimensions of your crawl space to ensure the barrier fits snugly. Cut the polyethylene plastic or chosen material accordingly, allowing for some overlap at seams to create an effective barrier against moisture. Precision in measurement and cutting can significantly enhance the effectiveness of the installation.
Sealant Application and Finishing Touches
After positioning the vapor barrier, use seam tape to secure overlapping sections. Pay extra attention to corners and edges, as these are potential weak points for moisture infiltration. In areas where the barrier meets walls or vents, consider applying construction adhesive for a tighter seal. Finally, inspect the installation for any gaps or weaknesses.
Common Challenges in Vapor Barrier Installation
Dealing with Moisture Issues
One common challenge is existing moisture issues. If high humidity levels are detected post-installation, consider integrating dehumidifiers or additional insulation solutions to manage excess moisture effectively. Regular maintenance checks can ensure that moisture levels remain in control, preserving the integrity of your vapor barrier.
Identifying and Resolving Gaps
Gaps in vapor barriers can compromise their effectiveness. Regularly inspect for cracks or tears, especially after heavy rainfall or humidity spikes. Seal any identified areas immediately using appropriate sealants or tape. Additionally, ensure overlaps are adequately secured and check foundation walls for any potential gaps that water could exploit.
Maintenance Tips for Longevity
To maximize the effectiveness of your vapor barrier, conduct regular inspections. Look for indicators of moisture, mold, or pests. After heavy rain, check to ensure no water has found its way under the barrier. Clean any debris that accumulates, and consider a yearly maintenance check to extend the lifetime of your barrier.
FAQs about Vapor Barrier Installation
How long does a vapor barrier last?
Typically, a vapor barrier can last from 5 to 30 years, depending on the material and environmental conditions. Regular inspections ensure that any wear or damage is addressed promptly.
Can I install a vapor barrier myself?
Yes, with proper preparation and the right tools, many homeowners can successfully install a vapor barrier. However, for complex issues or large areas, professional assistance may be beneficial.
What are signs that my vapor barrier needs replacement?
Signs include visible tears, mold growth, increased humidity levels in your home, or persistent moisture issues in the crawl space. Regular checks can help identify these signs early.
Is a vapor barrier required in all climates?
While not universally required, vapor barriers are highly recommended in humid climates to prevent moisture issues. Check local building codes for specific requirements.
How does a vapor barrier affect home energy efficiency?
A well-installed vapor barrier improves energy efficiency by reducing humidity and preventing heat loss. This, in turn, can lower energy bills and enhance overall comfort in your home.